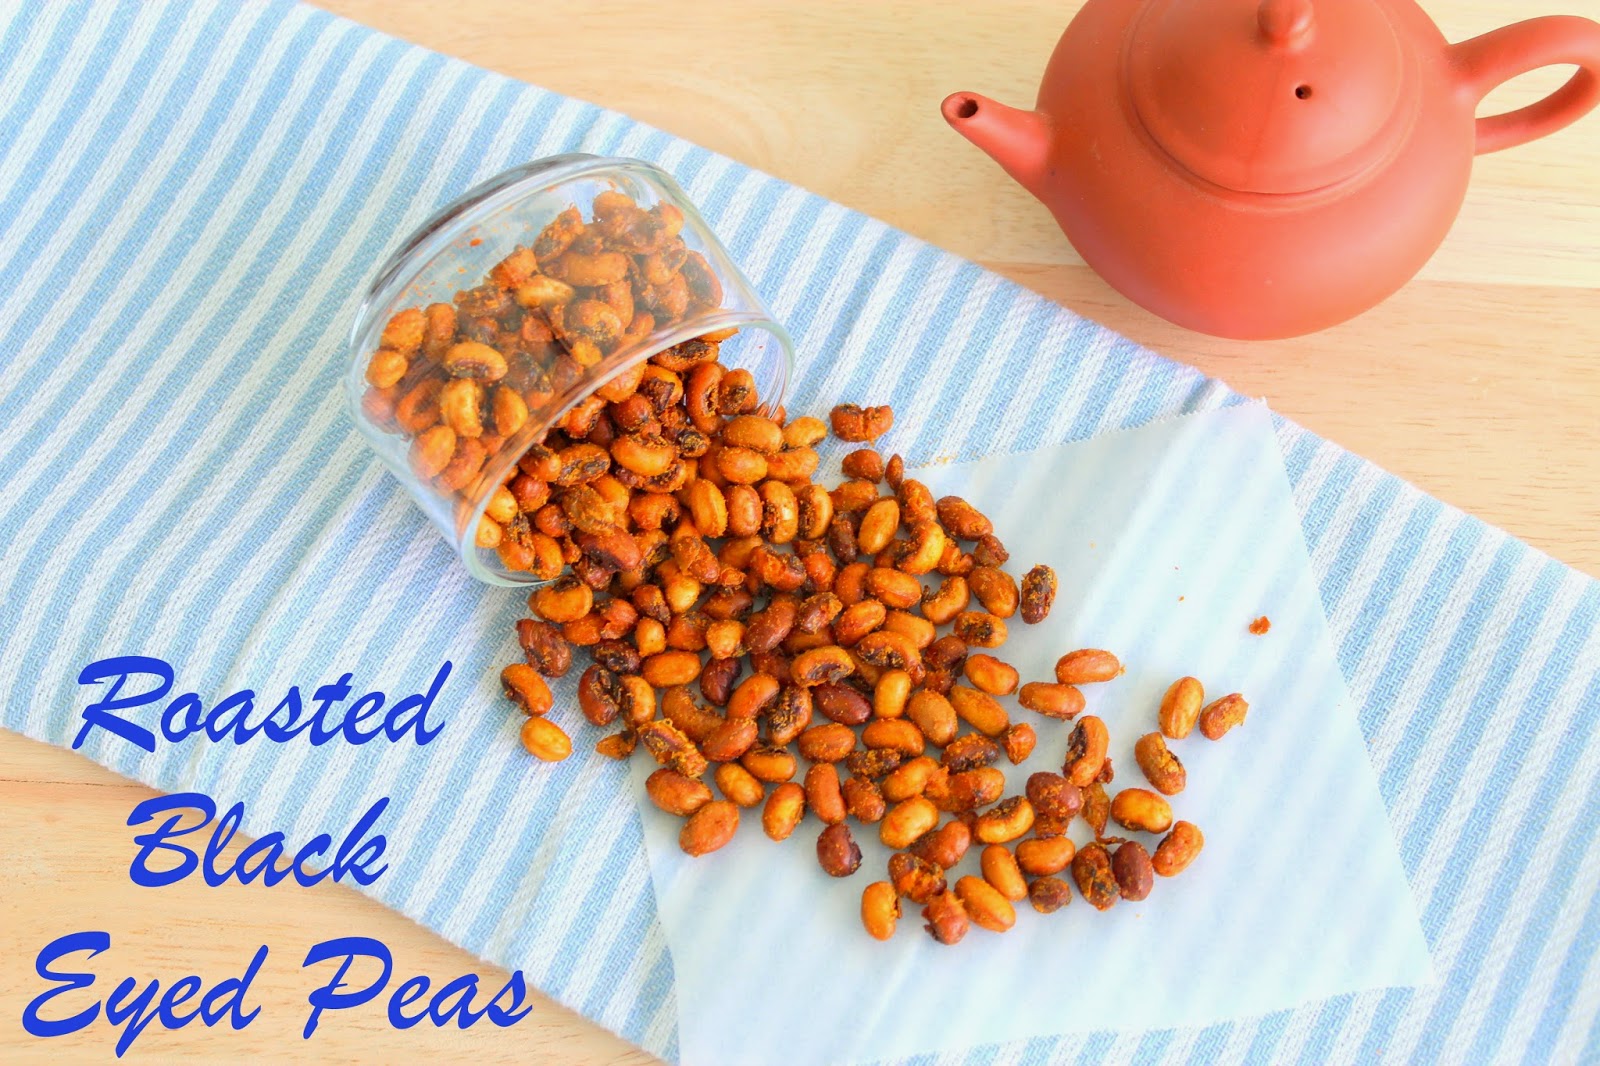
Crunchy Roasted Black Eyed Peas
Finally!!! I am posting a recipe of a savory snack. What can I say, I have more ideas of sweet snacks compared to savory. A girl's gotta have her sweet treats now and then. I have to apologize for the lack of posts for the past week or so. I was very ill and I blame myself for it. I overworked my muscles and I paid the price for it. After a week of rest from yoga practices and everything else, I am back to myself. I suppose it's a mid-year crisis that everybody goes through. It's crunch time and I'm unhappily crunched! So why not make something crunchy to satisfy your cravings.
Ingredients.....
- Black eyed peas - 2 cups
- Vegetable oil (I used sunflower oil) - 2 tablespoons
- Chili powder - 1 tablespoon
- Turmeric - 1 teaspoon
- Salt - according to taste.
Let's Begin.....
1. Soak the black eyed peas in water for 4 hours.
2. Pressure cook the beans with few pinches of salt until they soften.
3. Drain the beans. Place them between a cloth and wipe off the excess liquid.
4. Pre-heat the oven to 180⁰C.
5. On a baking tray lined with baking paper, spread the beans.
6. Drizzle with oil and make sure all the beans are well coated.
7. Add the chili powder, turmeric powder and salt. Mix well for an even coating.
8. Place it into the oven and set the timer to 40 minutes.
9. At 15 to 20 minutes interval, take the tray out and give a good mix and spread the beans evenly over the tray.
10. After 40 minutes, switch off the oven and allow the beans to stay in the oven for another 10 minutes.
11. Allow the beans to cool completely and serve.
 |
| Black eyed peas getting roasted in the oven |
Time for a taste test.....
Obviously my mother would be the first one to test and comment. She said 'Mmmmmm.......' That's a good sign. It's crunchy, light, well seasoned and the chili powder added a little kick. As I always say, my taste buds may be different to yours. So feel free to spice up the recipe according to your taste. There's no right or wrong in this. When I first came up with this idea, I had no clue of measurements, I just added ingredients according to my liking and it turned out well. *Phew* I bet this will be your favorite portable snack this summer time. It's super easy and quick to prepare and you can make it way ahead of time and it will last you for days. Give this recipe a shot and let me know how it turned out. For those of you who are feeling a little under the weather, take a time off and do something to make yourself happy. Go to a park and breathe in some fresh air. Everything will be ALRIGHT! Hey, summer is supposed to be all about fun! Till I see you in my post, Take Care!
~M~


Comments
Post a Comment